Avatar Modeling
Here is a comprehensive guide on how to model a 3D character model for Avatar upload.
Scaling the Model
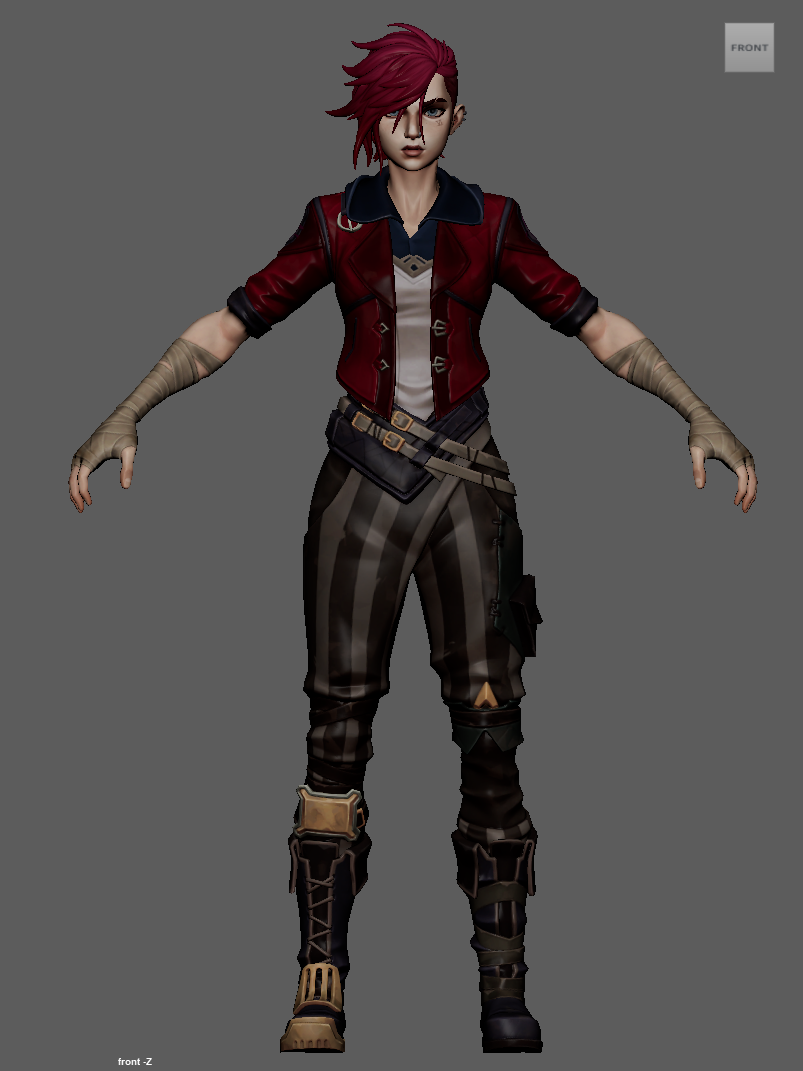
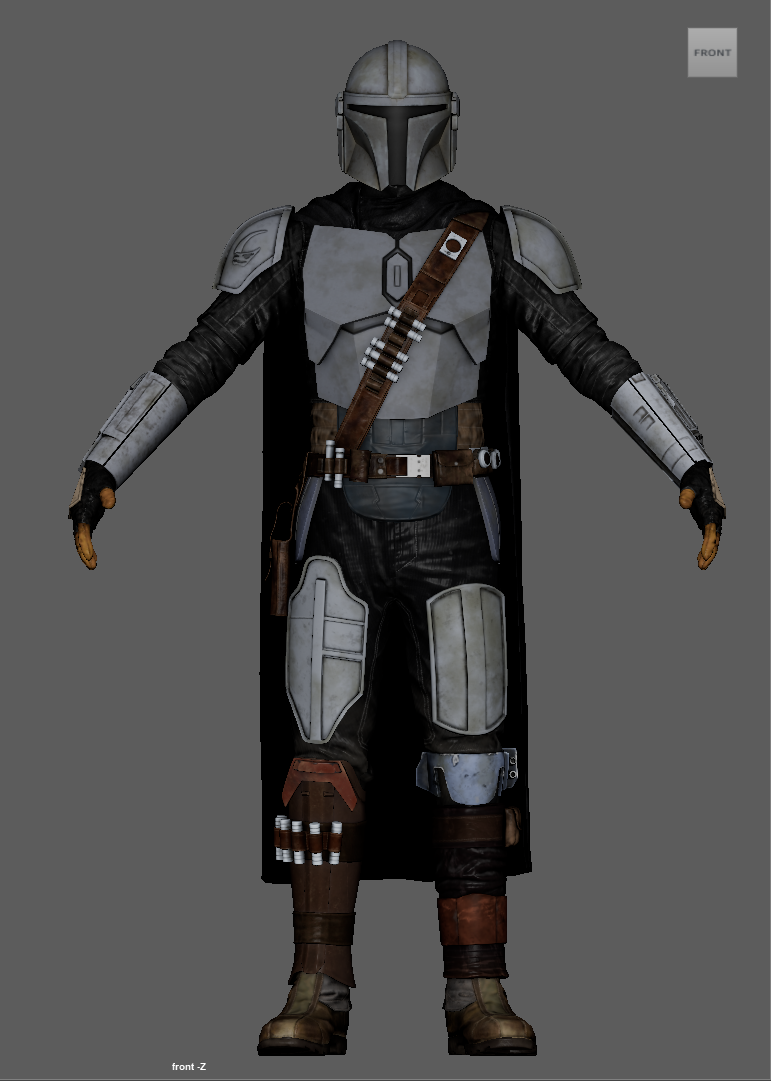
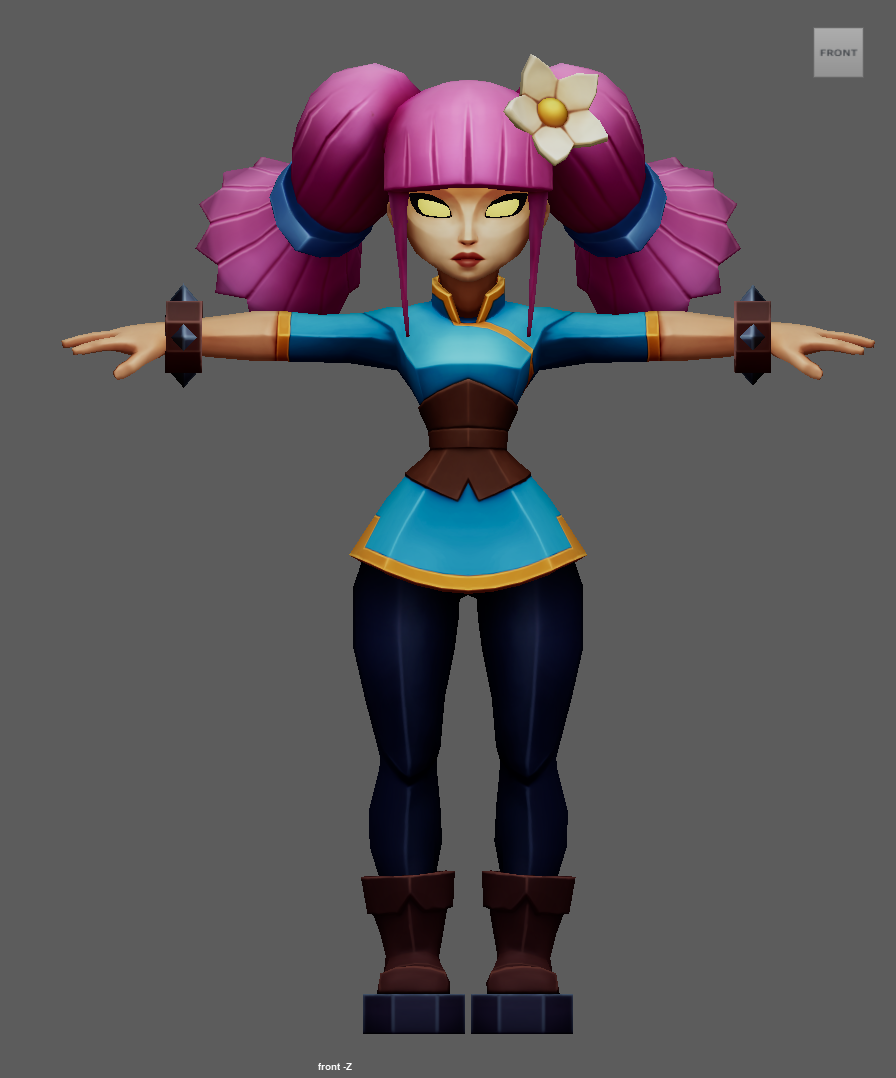
Please use the Gen12 Mannequin/Base Mesh Models from the Avatar Starter Pack as a reference guide. The system allows 1.5x scale shorter or taller than the base mesh.
Ensure consistent scale across all model assets.
Folder Structure
Organize the folder structure within your Maya or Blender scene by grouping models that share the same materials and using clear, descriptive, and logical naming conventions.
Recommended Structure
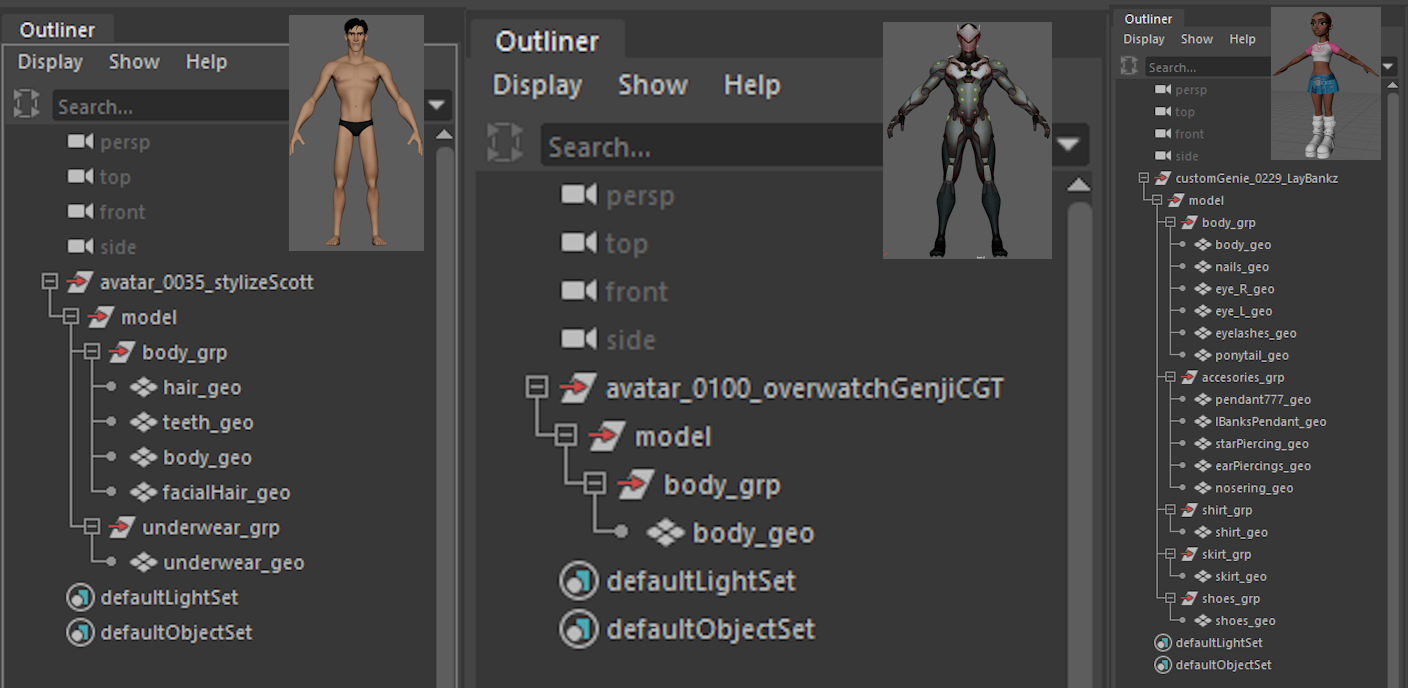
Start with a root folder named after the Avatar's main filename, followed by a "model" folder containing grouped subfolders (e.g., "grp" folders) for different components. This ensures consistency and makes it easier to locate and manage components.
Create separate groups for the different parts of your model. Breaking down assets into individual components with parent groups for broader categories. (e.g., body_grp, shirt_grp, pants_grp, shoes_grp, accessories_grp - If uploading a clothed avatar).
Use descriptive and consistent names for all geometry files (e.g., body_geo, shirt_geo, jacket_geo, pants_geo, skirt_geo, shoes_geo).
Here are three example folder structures:
Hair, Lashes, and Brows
These components will be part of the “body_grp” and should share the same body material. You can author these as geometry, but buzzed hair and eyebrows can be authored as textures.
Mouth bag, Teeth, Gums, and Tongue
Ensure these components are modeled and included as part of the “body_grp”. They should share the same body material.
Material Assignment
For now, the Avatar upload system allows for a maximum of 5 materials. Please take this into account when organizing your assets and assigning materials.
Assign appropriate materials for each asset or component of your model to streamline texturing. Please make sure each geo in your FBX has an assigned material.
UV Unwrapping
To create an efficient UV layout, unwrap the model and arrange UV islands to maximize texture space while minimizing stretching or distortion.
Create UV maps for:
- Body (this will include Eyes, Mouth, and Hair components)
- Top (shirt, jacket, hoodie)
- Bottom (pants, shorts, skirt)
- Shoes
- Accessories (necklace, hat, glasses)
Remember to group UVs by their materials. All geos that share the same material should fit in ONE UV tile.
Also, ensure all asset UV shells are rotated in the same direction.
Texturing
You have the flexibility to choose from three widely-used texture workflows for your Avatars: PBR (Physically Based Rendering), Stylized, or Hand-Painted.
The system currently requires that artist don't surpass 5 texture set.
Genies primarily uses Unity, a cross-platform engine, for the mobile and AR Experiences. That means they are using the Unity Universal Render Pipeline (Metallic Standard), also known as URP, when it comes to texturing.
If texturing in Substance Painter, use the URP template when exporting textures.
Each workflow caters to different artistic and technical needs, allowing you to achieve the desired look and feel for your Avatar.
PBR (Physically Based Rendering)
- Ideal for achieving realistic texturing approach on materials by simulating how light interacts with surfaces.
- Uses industry-standard maps such as Albedo, Roughness, Metalness, Normal, and Ambient Occlusion.
- Ensures consistent rendering results across various lighting conditions and platforms.
- Recommended for users aiming for lifelike or detailed materials such as metal, leather, or fabric.
Stylized
- Focused on creating unique, exaggerated, or cartoon-like textures.
- Allows for creative expression, emphasizing bold colors, simplified details, and non-realistic lighting.
- Perfect for Avatars intended for artistic or fantasy-themed environments.
Hand-Painted
- Involves manually painting textures to add personality and artistic flair.
- Often used for creating intricate details, artistic shading, or fantasy aesthetics.
- Gives you full control over the visual outcome, allowing for a handcrafted, organic appearance.